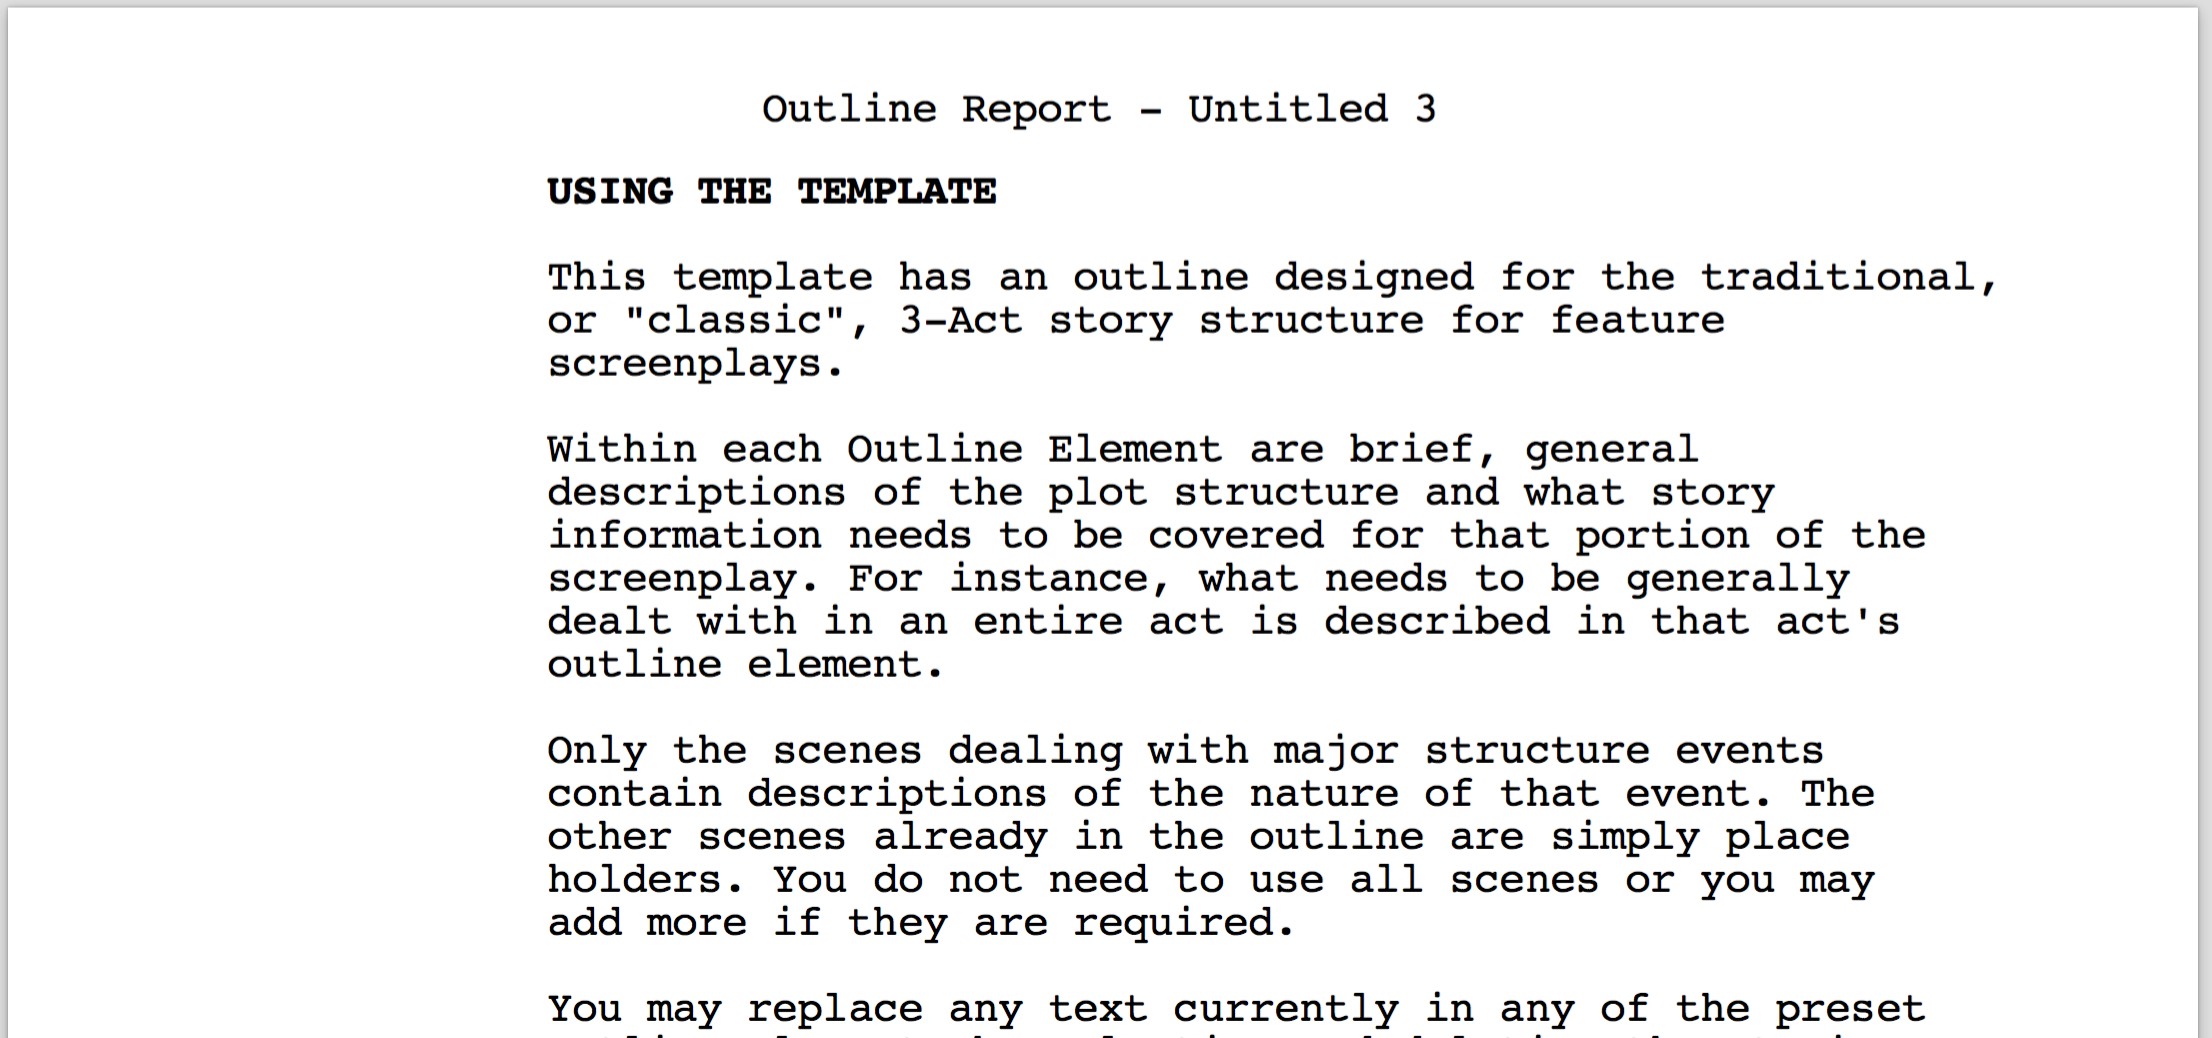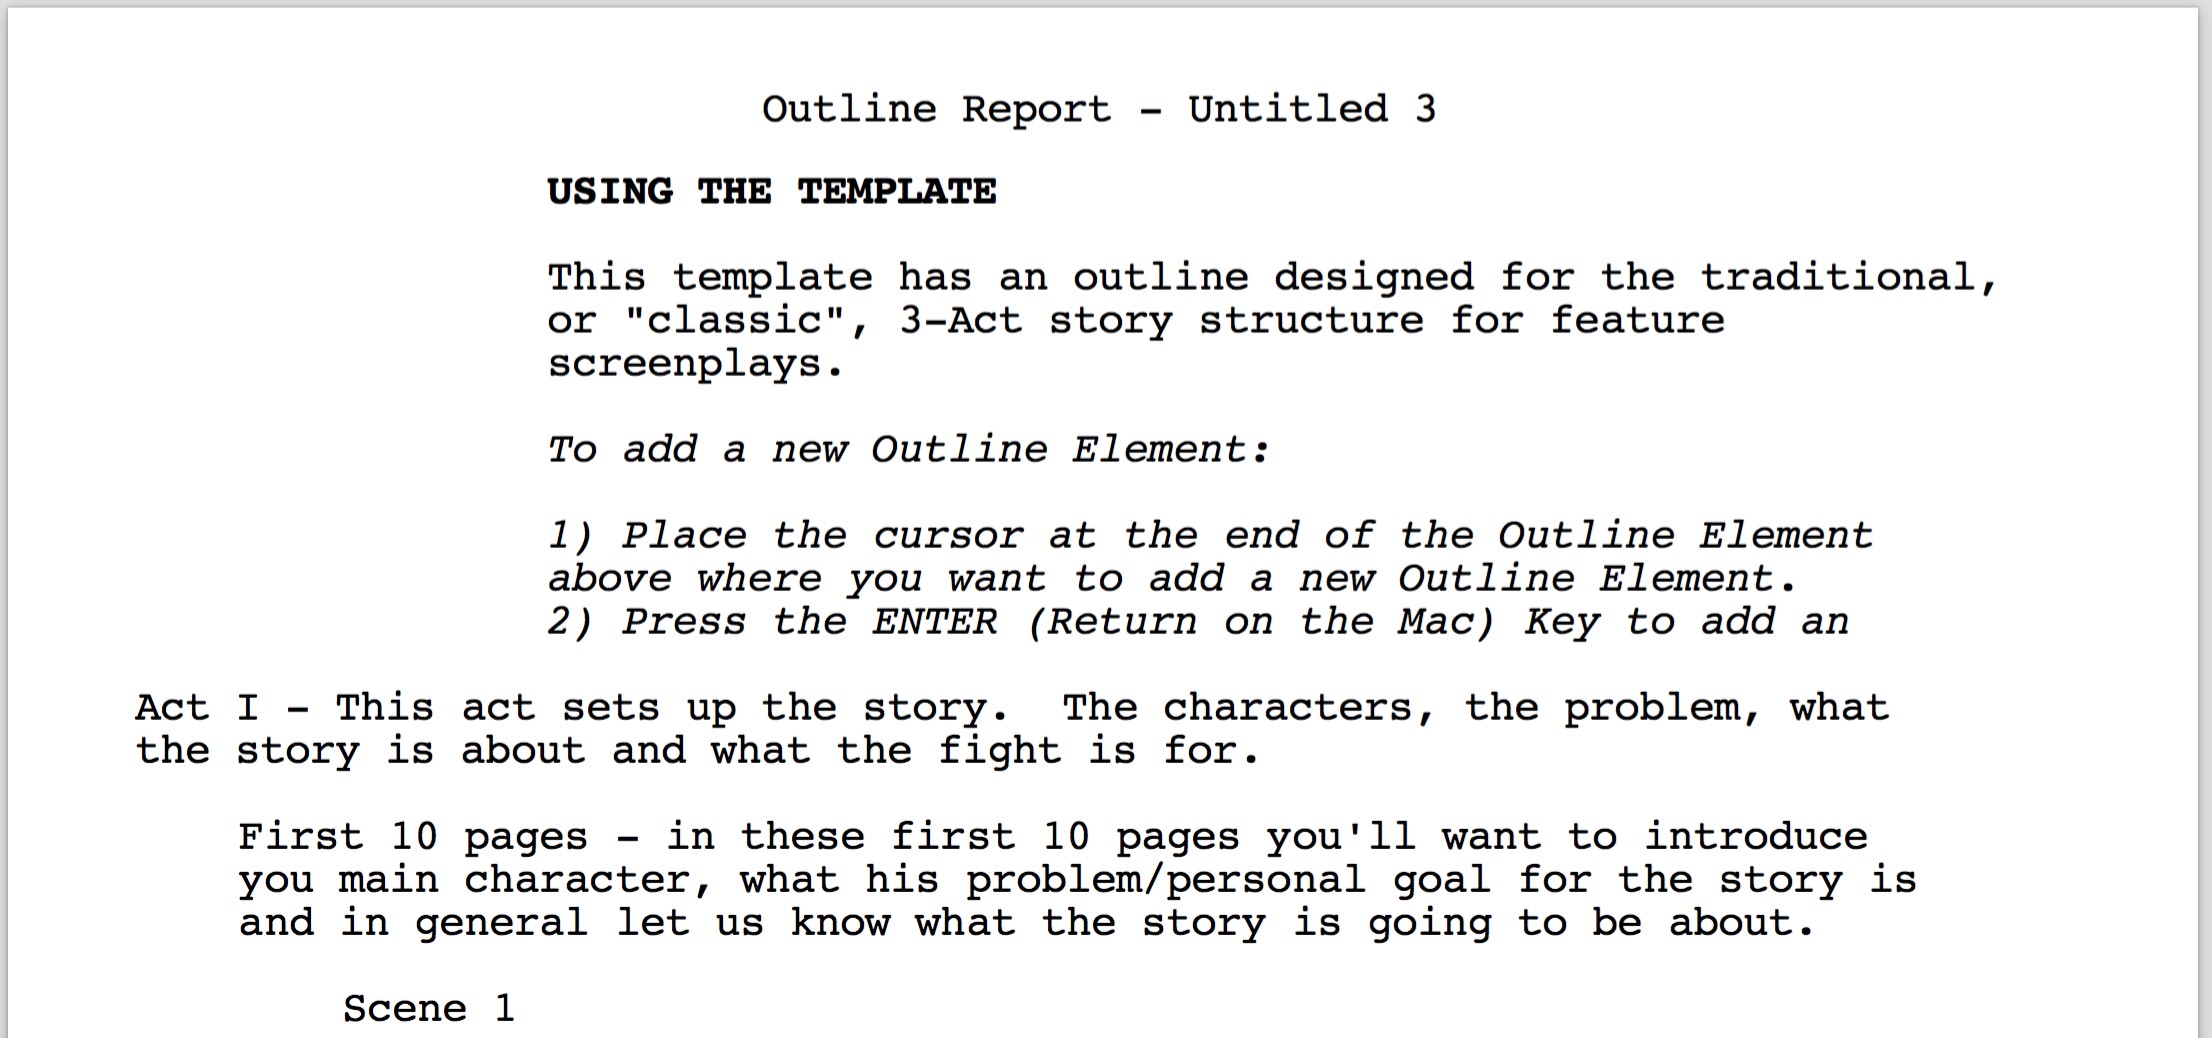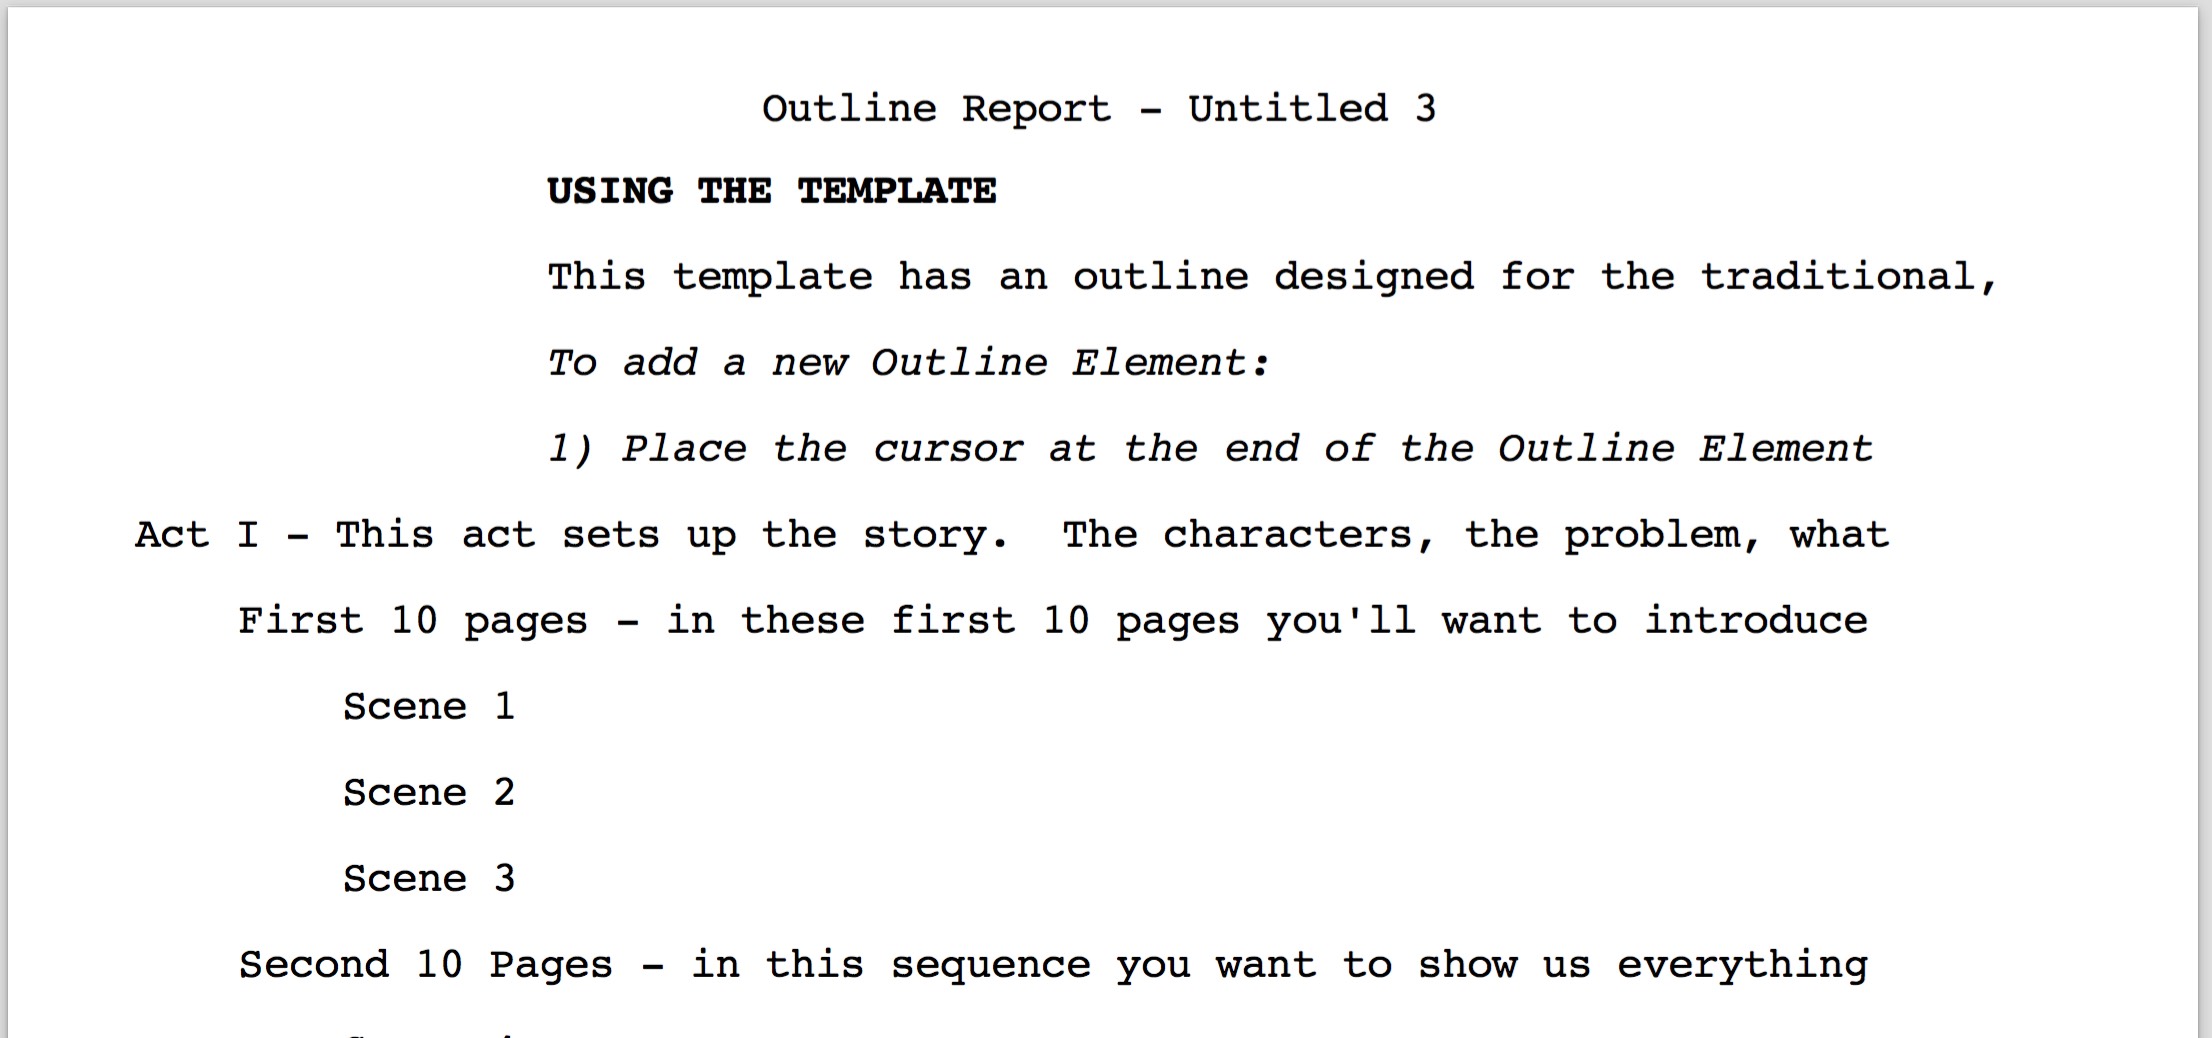
OUTLINE REPORT:
The outline report gives you wide-ranging control over printing out the outline elements in your document. These controls include the report style, which elements to print, the report layout, and outline report specific headers and footer.
You may access the outline report by using the File>Print command and choosing the Outline Report option:

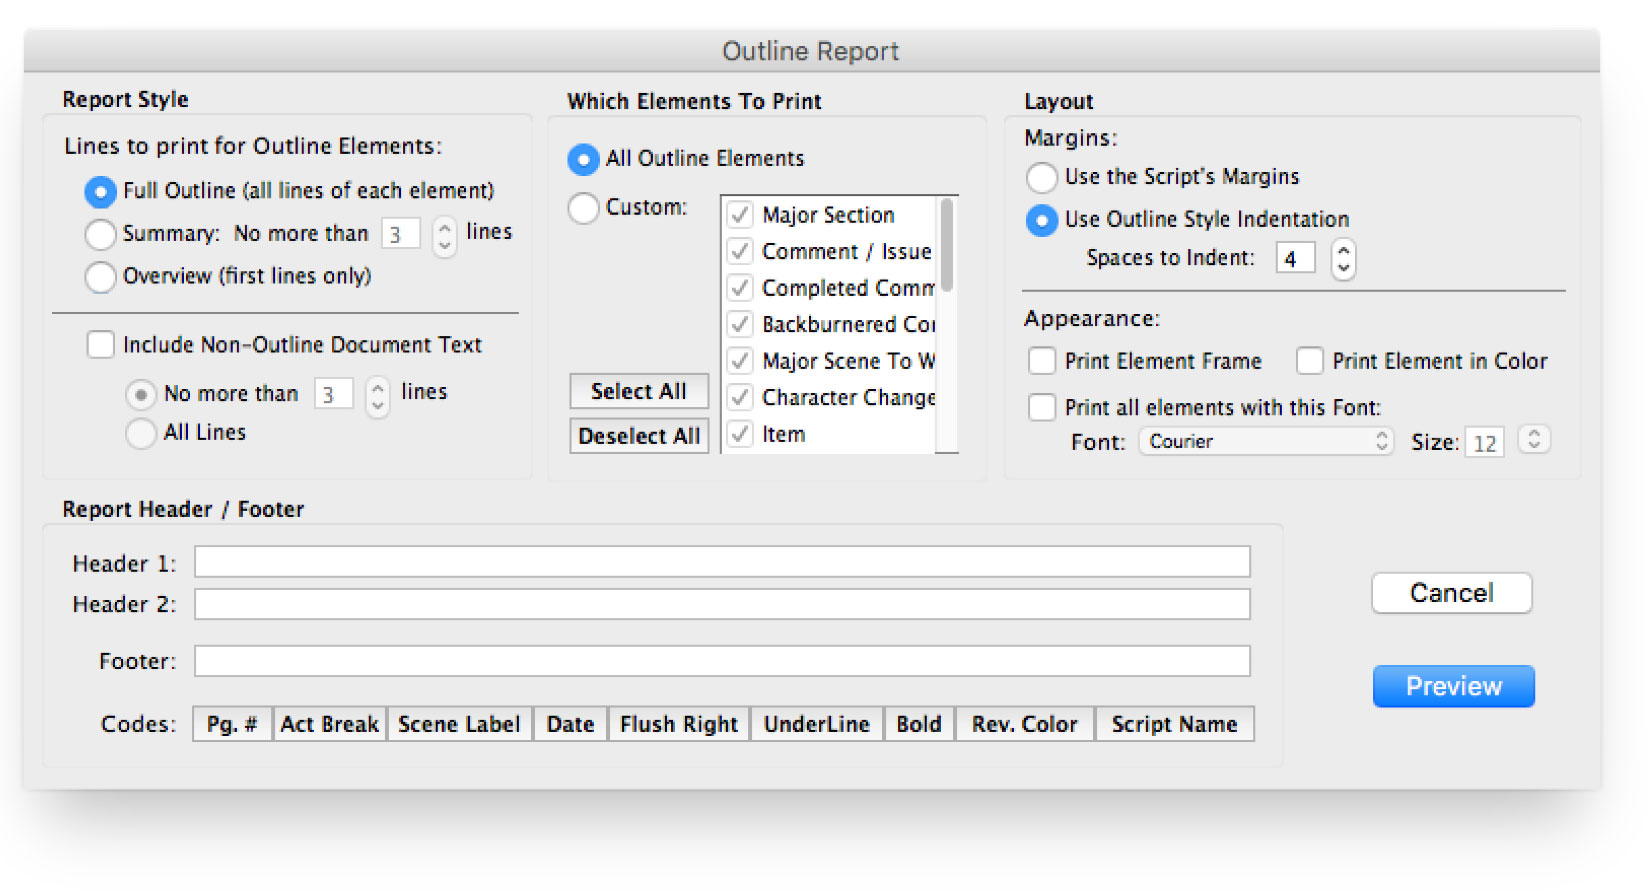
Then choose either the Preview or Print button to open the outline report options window.
OUTLINE REPORT STYLE
The report style options control how much of each element is printed, ranging from single lines per outline elements to the complete outline text. They also allow you to integrate the regular document text with the outline elements.
Lines to print for Outline Elements Options
These options control how much of the outline text appears in the printed report.
•Full Outline (all lines of each element): With this option selected, the full text of each outline element is included in the outline report.
•Summary: No more than "n" lines: With this option selected, only a limited number of lines are included per outline element. The number of lines is determined by setting the number in the number field. Use the up and down arrows to increment and decrement the number, or type in the number directly.
•Overview (first lines only): With this option selected, only the first line of each outline element is included in the outline report. This option is useful to get an overall sense of the outline while minimizing the length of the printed report.
Include Non-Outline Document Text
Non-outline document text is the "normal" document text. Check this option if you wish to intermix the outline text with your document's regular text.
oNo more than "n" lines: With this option selected, only a limited number of lines are included per regular text element. The number of lines is determined by setting the number in the number field. Use the up and down arrows to increment and decrement the number, or type in the number directly.
NOTE: Character name elements and their associated dialogue and parenthetical combined are treated as one element, so a setting of three lines could display no more than a character name, one parenthetical direction (wrily), and one line of dialogue, or one character name and two lines of dialogue per instance. You should experiment to find out the number that works best for your needs.
oAll lines: With this option selected, the full text of each regular text element is included in the outline report
WHICH ELEMENTS TO PRINT
There may be times when you want the outline report to include all outline elements, and there may be times when you want to limit which elements are included in the outline report. NOTE: Unlike all other regular text elements, scene headings and shots are considered as both regular text elements AND outline elements. This means scene headings and shots appear in the outline report unless explicitly excluded.
•All Outline Elements: Use this option to include all outline elements in the document in your outline report.
•Custom: Use this option to include only specified outline elements to be included in the outline report.
oElement list: The element list displays all outline styles defined in your document, even though only a subset of those styles may be used in your document. Place a checkmark to the left of the styles you wish include in the outline report. Uncheck the styles you wish to exclude from our outline report.
oSelect All button: This option provides a quick way to check all the outline styles in the custom element list.
oDeselect All button: This option provides a quick way to uncheck all the outline styles in the custom element list.
OUTLINE REPORT LAYOUT
The layout options control how the outline report appears on the page.
Margins
•Use the Script's Margins: This option uses the left and right margins as they appear within the document. Unlike all other regular text elements, scene headings and shots are considered as both regular text elements AND outline elements. This means scene headings and shots are indented in "script" format, which usually displays scenes and shots with the same left margin as action elements. For this reason, this is the preferred option if you choose to include non-outline document text.
•Use Outline Style Indentation Spaces to Indent: "n" (spaces): This option indents the outline elements by "n" spaces based on their hierarchy in the outline table.
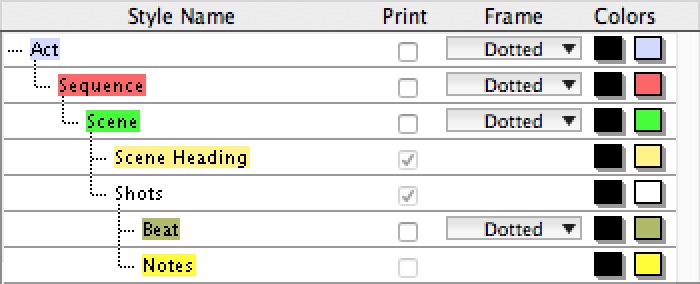
The Outline Element hierarchy in the Outline tab of the Format Styles window.
The number of spaces to indent between parent outline styles and child outline styles is determined by setting the number in the spaces number field in the margins option of the outline report. Use the up and down arrows to increment and decrement the number of spaces, or type in the number directly.
In this outline report margin option, scene heading and shots are indented according to their position in the outline hierarchy. If you choose to include regular script text Outline elements, scene headings and shots may not align with normal action margins.
Appearance
•Print Element Frame: When checked, the element frame (if any) is printed in the report. When unchecked, the element is printed without a frame.
•Print Element in Color: When checked, the element is text color and background color are printed the report. When unchecked, the element is printed with black text and no background color.
•Print all elements with this Font: When checked, all elements in the report are printed using the font and size indicated by the font and size options. When unchecked, the element is printed using the font and size of the outline style as defined in the document.
oFont: Selection – Select the font from the list of available fonts for all outline elements to use if the Print all elements in this Font option is selected.
oSize: Selection – Select the font size for all outline elements to use if the Print all elements in this Font option is selected. Use the up and down arrows to increment and decrement the number of font size, or type the font size number directly.
Outline Report Header / Footer
The outline report has its own header and footer that is separate from the document's header and footer. Editing this header and footer does not modify the document's header and footer, and vice versa.
You can have one or two lines of Header Text and one line of Footer Text. Type in any text in the appropriate Line window.
To insert codes at the cursor position for the following items, click on their buttons:
• |
Pg#—Inserts “#”, the code representing the Page number. To have the page number appear with a period following it (e.g. “119.”) type a period after this code. |
• |
Act Break—Inserts “@”, the code representing the Act number (for TV shows and Stage Plays.) To have the act number appear as “Act 2”, put “Act @” in the Header. |
• |
Scene Number—Inserts “¢”, the code representing the Scene Heading number. To have the number appear as “Scene 2”, put “Scene ¢” in the Header. |
• |
Scene Label—Inserts “$”, the code representing the Scene number (for TV shows and Stage Plays.) To have the number appear as “Scene 2”, put “Scene $” in the Header. |
• |
Date—Inserts “%”, the code representing the current date. |
• |
Rev. Color—Inserts “~”, the code representing the Revision Draft Color for revised pages. |
• |
Flush Right—Inserts “^”, the code telling Screenwriter to align the text following it flush with the Right Margin. To have some items align flush left and others align flush right, insert this code between them (for example, “Act @^Page #.” would place “Act 2” flush left and “Page 3.” flush right). |
• |
Underline—Insert “{“ to start underlining, and “}” to end underlining. |
• |
Bold—Insert “<“ to start underlining, and “>” to end underlining. |
To enter the character that represents a code in the Header—such as the # sign to make it say “Act # 6”—enter the code twice, as in “Act ## @”.
Screenwriter's default is to keep blank spaces in Header Line 2, and print it as a blank line. Text you enter in Line 2 replaces the spaces, and print accordingly. .

